MultiSlice RTP Environment
> MultiSlice RTP Help files
This section is divided into several sub-sections :-
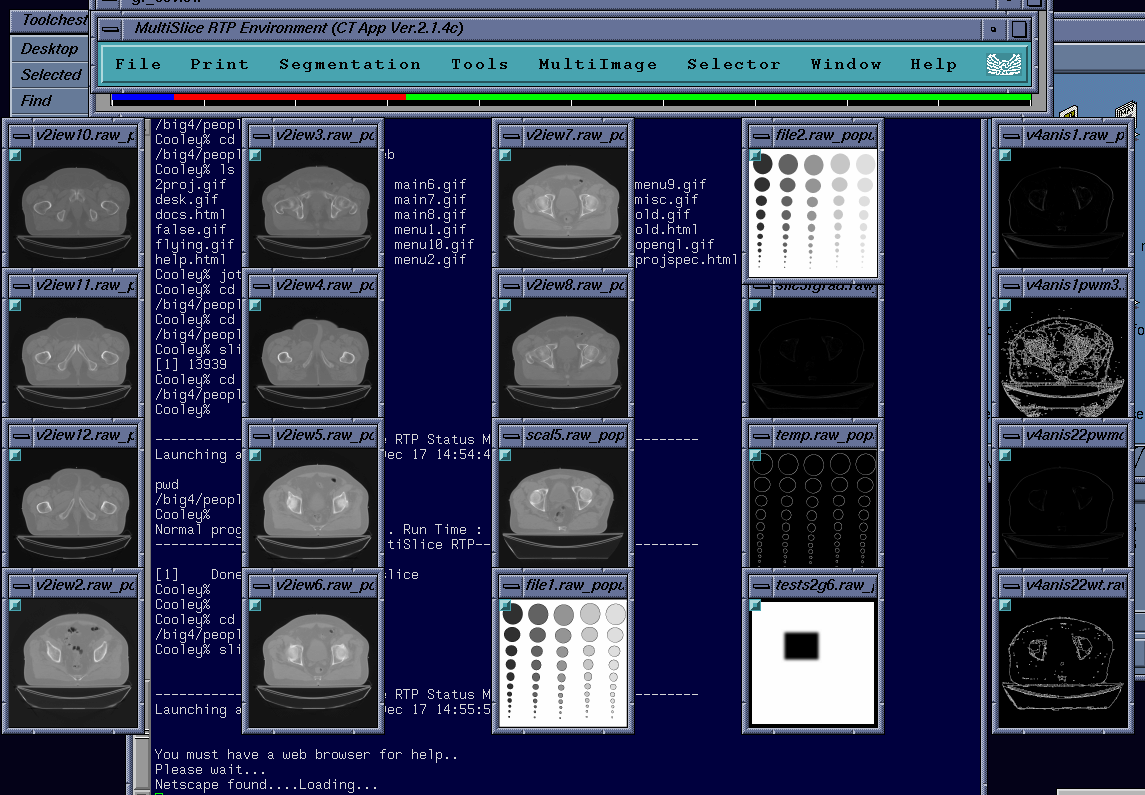
File Menu

-
Open
-
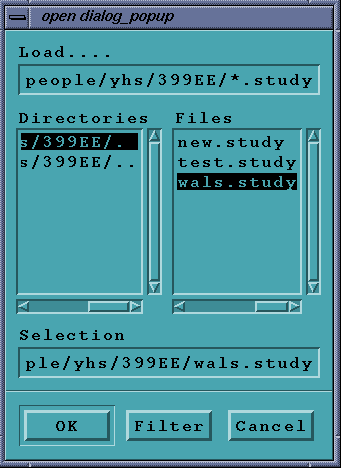
Open a study of 10 images
This will pop-up the file selector box, and give a list of all the study
files in the current directory. You may change the directory and use the
filter command to refresh the files.*.study files are simple text
files with the names of 10 images (preferably with full paths, although
the program will load the files from the current directory if no path
is specified).
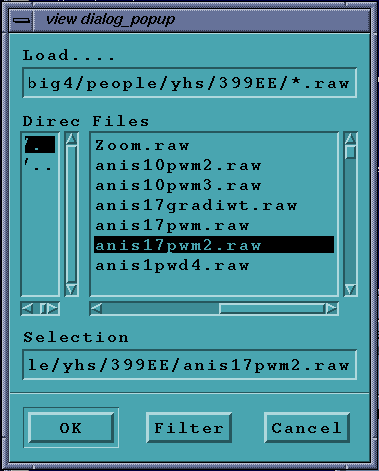
This will pop-up the file selector box as before with the ability to load
a single RAW image file. This gives the user the ability to load a single
512 x 512, 8-bit image of raw data (no header).
-
Save As...
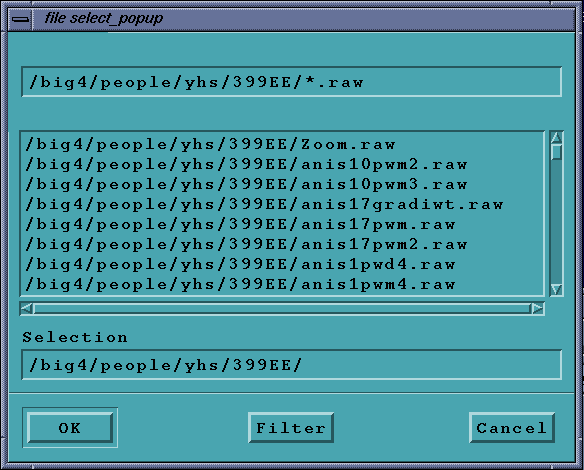
Select a file using the file selector and press Save As... This will
popup a small box giving the
user the ability to save the processed image under a different filename,
if required.
-
Exit...
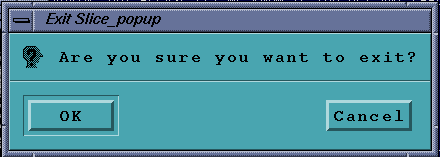
This will popup a small dialog box and ask you if you want to exit.
Press OK for a normal exit.
Print Menu

-
Print f1=>f1.PS
Simply select the file to print using the file selector, then press
this button to save the image to disk with a .ps extension in postscript
format. From the shell, invoking qpr will print the image to your nearest
convenient laser (In my case it is set to print to a laser hundreds
of meters away connected to a serial link followed by several convertors
and finally to a Sun workstation, demonstrating the flexibility of the
printing script). Ask your system administrator to configure the printing
script for your particular use. Note that the image printed will be printed
in landscape mode if your printer does not support A3 size sheets. (i.e.
it will be turned clockwise by 90 degrees and printed on an A4 laser printer)
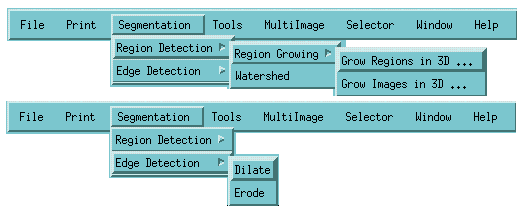
Segmentation
-
Region Detection
-
Region Growing
Select between one and ten images to apply the
3D growing algorithm from the file selector
box. Enlarge the first image selected (if not already enlarged) and click
the Grow Regions
button. You will be asked to enter a threshold value between 0 and 255.
Type in the value and
press OK. Then click the left mouse button on the first (enlarged) image
and wait for
the algorithm to run to completion and display the required growth. Since
this is in 3D, for n
files selected, n files will be loaded after the algorithm runs. Note that
omission of any steps
will result in the algorithm not being run.
Simply redo the steps omitted and try again.
Select between one and ten images as before. This time there is no need
to select a point as
the algorithm does not need a point to be selected. Simply enter the threshold
value and
wait for results.

-
Watershed
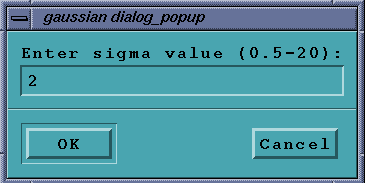
Select a single image from the selector. Enter the sigma
value after clicking on the menu in the
dialog box and press OK. This algorithm runs in two parts
and may be slow, depending on both
image and processor speed. It first does a Gaussian-type
filter followed by a Watershed
segmentation.
-
Edge Detection
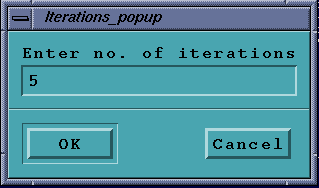
Iterative erode and dilate. As before, select a file and simply
enter the number of iterations for each
(max:500), click OK to allow the algorithms to run.
Tools

-
Editing Tools
This will product a popup box and allow you to draw various shapes
and objects on the screen.
Note that they are drawn with an XOR mask, so any refreshing of the
image will remove them automatically.
-
Zoom
Allows a zoom on the currently selected image. Enter the value of the
zoom, and a correspondingly sized box will appear in the image. Move it
to the place you want to zoom and click the left mouse button. This will
produce a zoom of the selected area. Zooms are loaded as separate files
for manipulation. (You can do a maximum of 50 levels of zooming per image,
but the zoomed area can be zoomed so that a maximum of (50)^19 zooms are
possible, without deleting any image from the screen.)

MultiImage

-
Compare f1+f2=>f3
This performs a selective compare of files 1 and 2. You need to select
two files from the file selector and click this option to produce a comparison
of the areas common to both.
Selector

-
Operate on
This will give a listing of all twenty memory spaces for files. Simple
click the small button to the side of the file name to select a file. clicking
it again will deselect it. Note that it will prevent you selecting a deleted
file or an empty file name.

Window

-
Cascade
It displays all the windows in a cascaded form. There is no need to
use the file selector for this function.
-
Tile
It tiles all the windows. Similar to cascade above.
-
Deallocate File
Removes the first file selected. If no files are selected it normally
will remove the first file loaded. Be aware that this is an extremely processor
intensive process. It reloads all the files to ensure that there are no
memory leaks. It also maximizes, de-selects and re-orders all the files.
If your machine has insufficient RAM this may crash your machine or cause
excessive swapping. Be aware that if you need to use this procedure, you
should have at least 48 megabytes or RAM on your machine.
(Note that, however, most modern Silicon Graphics systems come with at
least 128 megabytes.)
-
Reduce/Enlarge all files
Reduces any files not enlarged and enlarges any files reduced. A fast
way to swap between two sets of images. This is an alternative to using
the small green enlarge/reduce button on each image.
Help

-
Version
Pops up the version and program information dialog box. If your administrator
has set up a web-browser on your machine, A Help menu will appear which
will launch your web browser to this page. Ask your system administrator
for details.


